Connecting API + Wallet
Open http://localhost:6688 to load Arbitrage with CrossEx on your device.
Setup has two halves: your Gate API key, which lets the app trade the perp legs through CrossEx, and your Boros wallet, which lets it trade and track the rate legs. You can do the first and start hedging perps straight away — but both are needed to run a full arbitrage position from the app.
1. Gate API key
Click the settings wheel on the right of the header to open the settings window, then enter your Gate API key and API secret under Replace credentials.
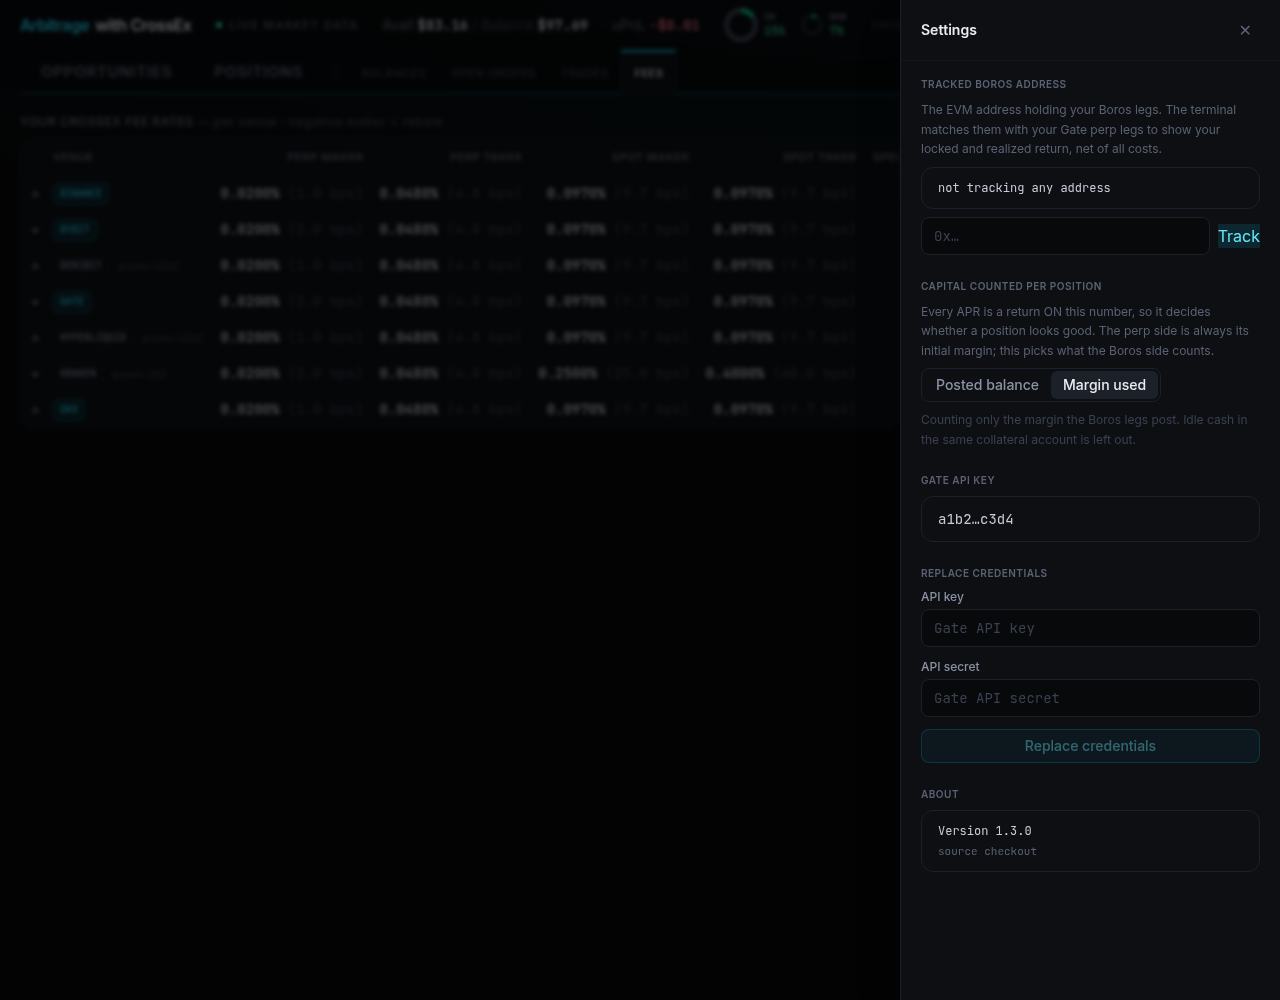
The app validates your key against Gate with a live read-only call before saving it. Your key and secret are stored only on your own machine, in ~/.boros-crossex/config/.env (macOS) or %LOCALAPPDATA%\CrossEx-Boros\config\.env (Windows) — never sent anywhere but signed requests to Gate's official API.
2. Tracked Boros address
Still in Settings, paste the EVM address holding your Boros legs into Tracked Boros address and click Track.
This is read-only: the terminal matches your Boros positions to your Gate perp legs so the Positions tab can show the locked rate and the return net of all costs. Without it, the app can still open and hedge perp legs, but it can only show you half the trade.
3. Boros agent key
To place Boros orders from the terminal itself, connect a delegated agent key. Open Order ticket in the header and switch to the Boros rates tab — the key panel sits at the top. It also appears on the Boros step of the strategy wizard.
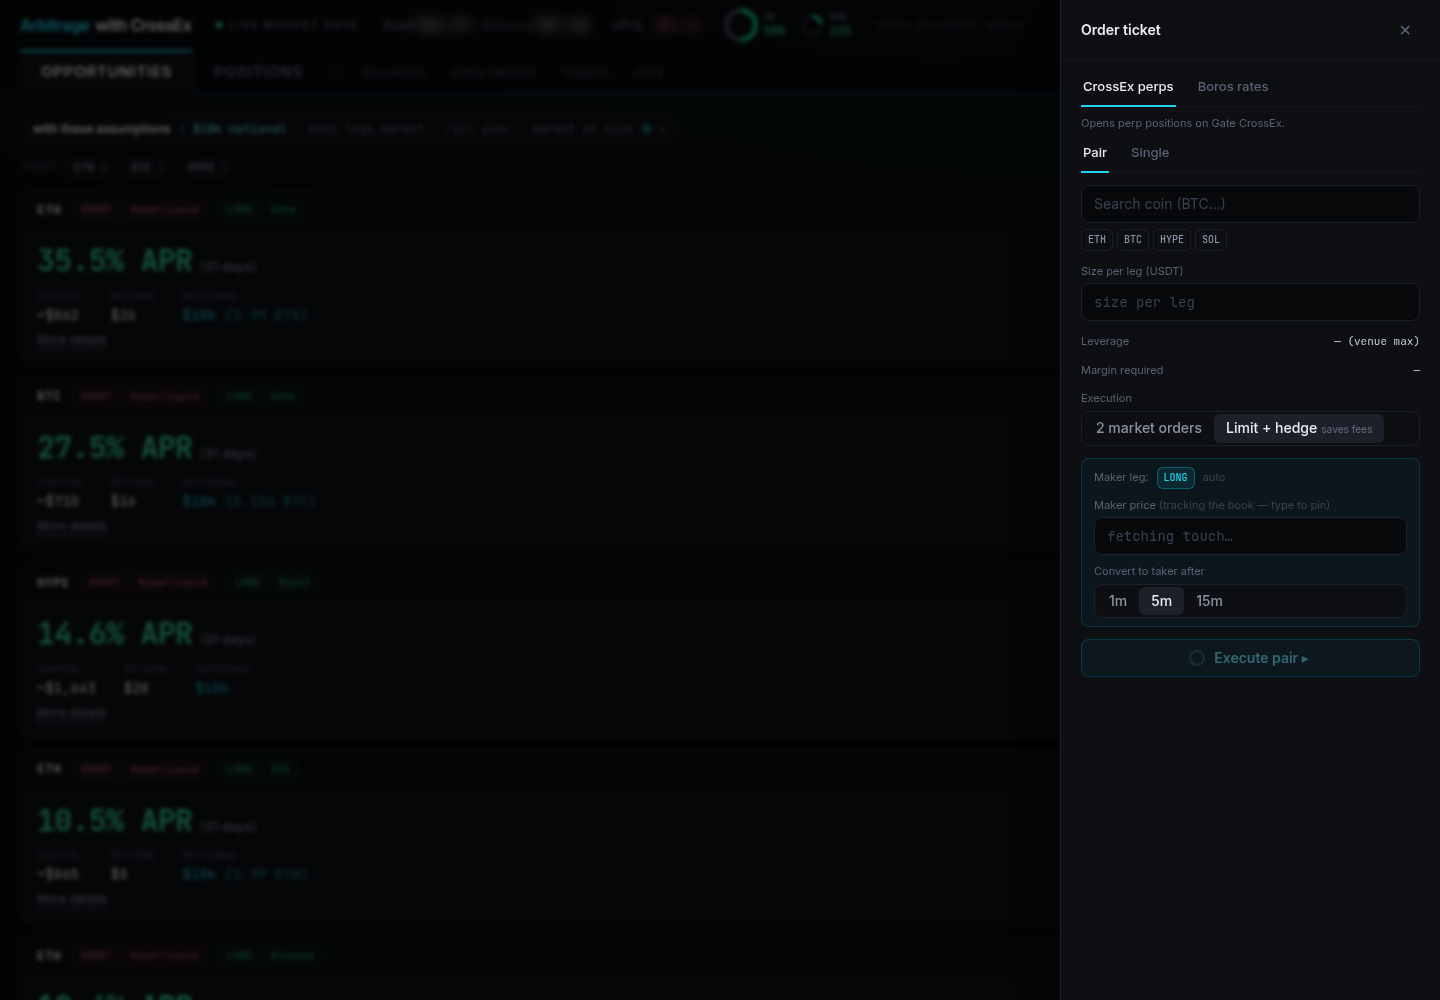
The agent key signs your Boros orders. Once it's connected the panel shows a trading enabled badge, the agent address, and the date the approval expires. Remove key revokes it.
A delegated agent key can trade the account but cannot deposit or withdraw — moving funds always needs your actual wallet. This is the same agent-key mechanism Boros uses on its own front end.
Once your API key, tracked address, and agent key are all set, you're ready to start trading.
Next: Opening a Position